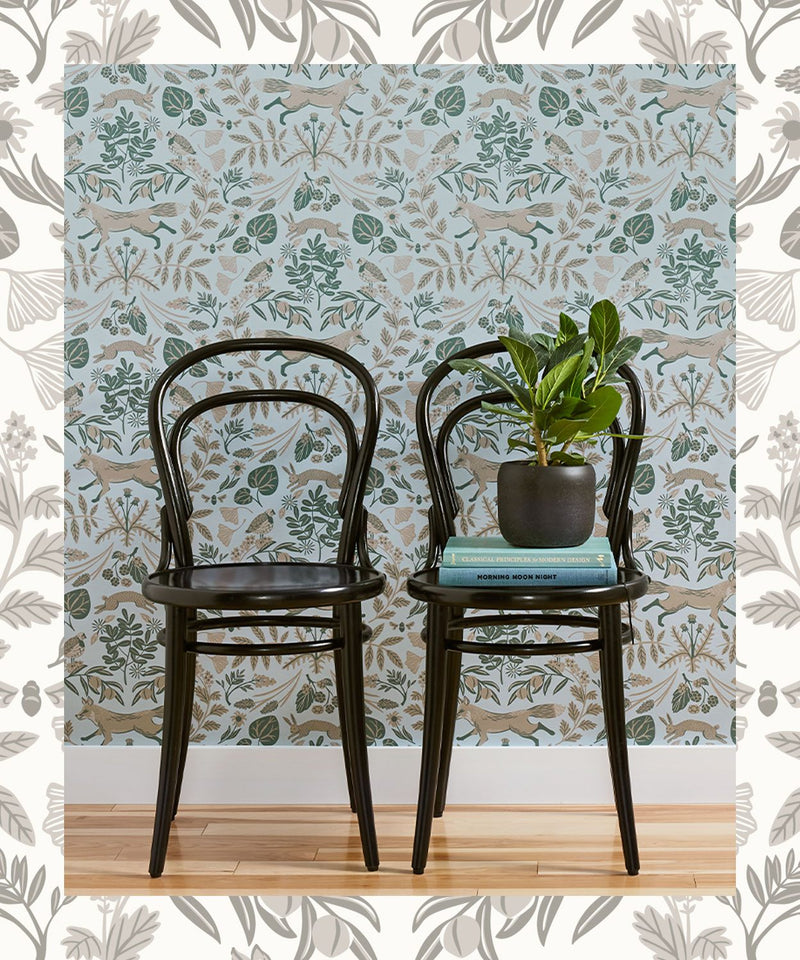
How to apply peel and stick wallpaper
Discover how to apply peel and stick wallpaper with our helpful 8 step installation guide.

Discover how to apply peel and stick wallpaper with our helpful 8 step installation guide.
Step 1
This product will not adhere to unclean, textured, or nonstick surfaces. Thoroughly clean, dry, and smooth the area to be wallpapered. Allow rolls to acclimate to the temperature in the room in which you will be installing the wallpaper by placing and leaving the rolls in the room for 24 hours prior to installation. Allow newly painted surfaces to fully cure for a minimum of 4 weeks before applying this peel and stick wallpaper.
Note: Test in an inconspicuous area before applying to delicate surfaces.
Warning: Keep decorations away from cribs and out of reach of young children to prevent a possible choking hazard.
Step 2
Wallpaper
Measuring tape
Scissors
Level & Straightedge
Pencil
Craft knife with extra blades
Smoothing tool
Step ladder (depending on the height of your wall)
Apron or clothing with pockets to keep small tools handy while you work
Step 3
Pre-cut your strips to the wall height, allowing an extra inch or two on the top and bottom for trimming. Make sure to align the design from strip to strip prior to cutting and hanging each strip. Cut and trim the product with a sharp razor knife, changing the blade often to maintain a smooth, clean cut.
Step 4
Measure the width of the wallpaper roll. All of our peel and stick rolls are 27 inches wide. Starting from the corner of the wall farthest away from an entry or line of sight, measure the width of the wallpaper minus one inch (to allow for trimming on the wall edge) and mark with a pencil. Using your level, draw a straight line down. This is the guide for your first strip, and it is very important for it to be a straight, vertical line.
Step 5
Peel about 12” to 24” of the backing away from the top of the paper. Apply the paper to the top of the wall, allowing a bit of excess to overlap the ceiling (this will be trimmed off later). Align the right side of the strip to your mark and lightly press the edge to the wall along the mark. You can reposition if needed to ensure a vertical seam.
Step 6
Working from top to bottom, pull the backing away as you evenly press the paper to the wall a few inches at a time. Be careful not to pull or stretch the material or the pattern may not align. For best results, have one person guide the paper at the top and along the seam, while another holds the opposite edge away from the wall until the seams are lined up. Using a plastic smoother, work your way down the strip in a back and forth motion, smoothing the material to the wall and pushing out any air bubbles (work them out from the center to the edges of the strip). Firm pressure must be applied to ensure air bubbles are removed and the wallpaper properly adheres to the wall. If bubbles re-appear, work them out by applying firm pressure with the smoother.
Step 7
Trim excess material at the ceiling and baseboard with a straightedge and a sharp razor knife. Change the blade often to ensure a smooth cut.
Step 8
Repeat this procedure, aligning your next strip to the right edge of your previous strip. Tip: In some instances, and for some patterns, you may want to try overlapping each strip ever so slightly (about 1/16”), but be sure the pattern aligns perfectly when doing so.
To remove or reposition our peel and stick wallpapers, start at the top corners of a panel, and pull firmly, evenly, and slowly downward, working parallel to the surface. Be careful not to over-stretch the material. Do not allow the adhesive surfaces to make contact with each other as they are very difficult to separate without damaging.
Check out our resource library to learn the advanced wallpapering techniques of papering around electrical sockets, thermostats, and wallpapering light switch plates.
The best way to get an accurate color match to your wallpaper is to bring in a swatch from your actual rolls to a paint store for the color match. This will provide an exact match between your wallpaper and paint.
Pre-pasted wallpaper
Our pre-pasted wallpapers are digitally printed on PVC-free paper and are Greenguard certified. Paste is not needed to install these papers, which work in nearly any application a traditional wallpaper would.
Traditional wallpaper
Our traditional wallpapers are hand screen printed in Chicago on America-made paper. These papers have a hand-painted look and texture and we offer the most pattern and color options in this material. These papers work in nearly any application.


