Pro Tips for Stunning Interior Photos
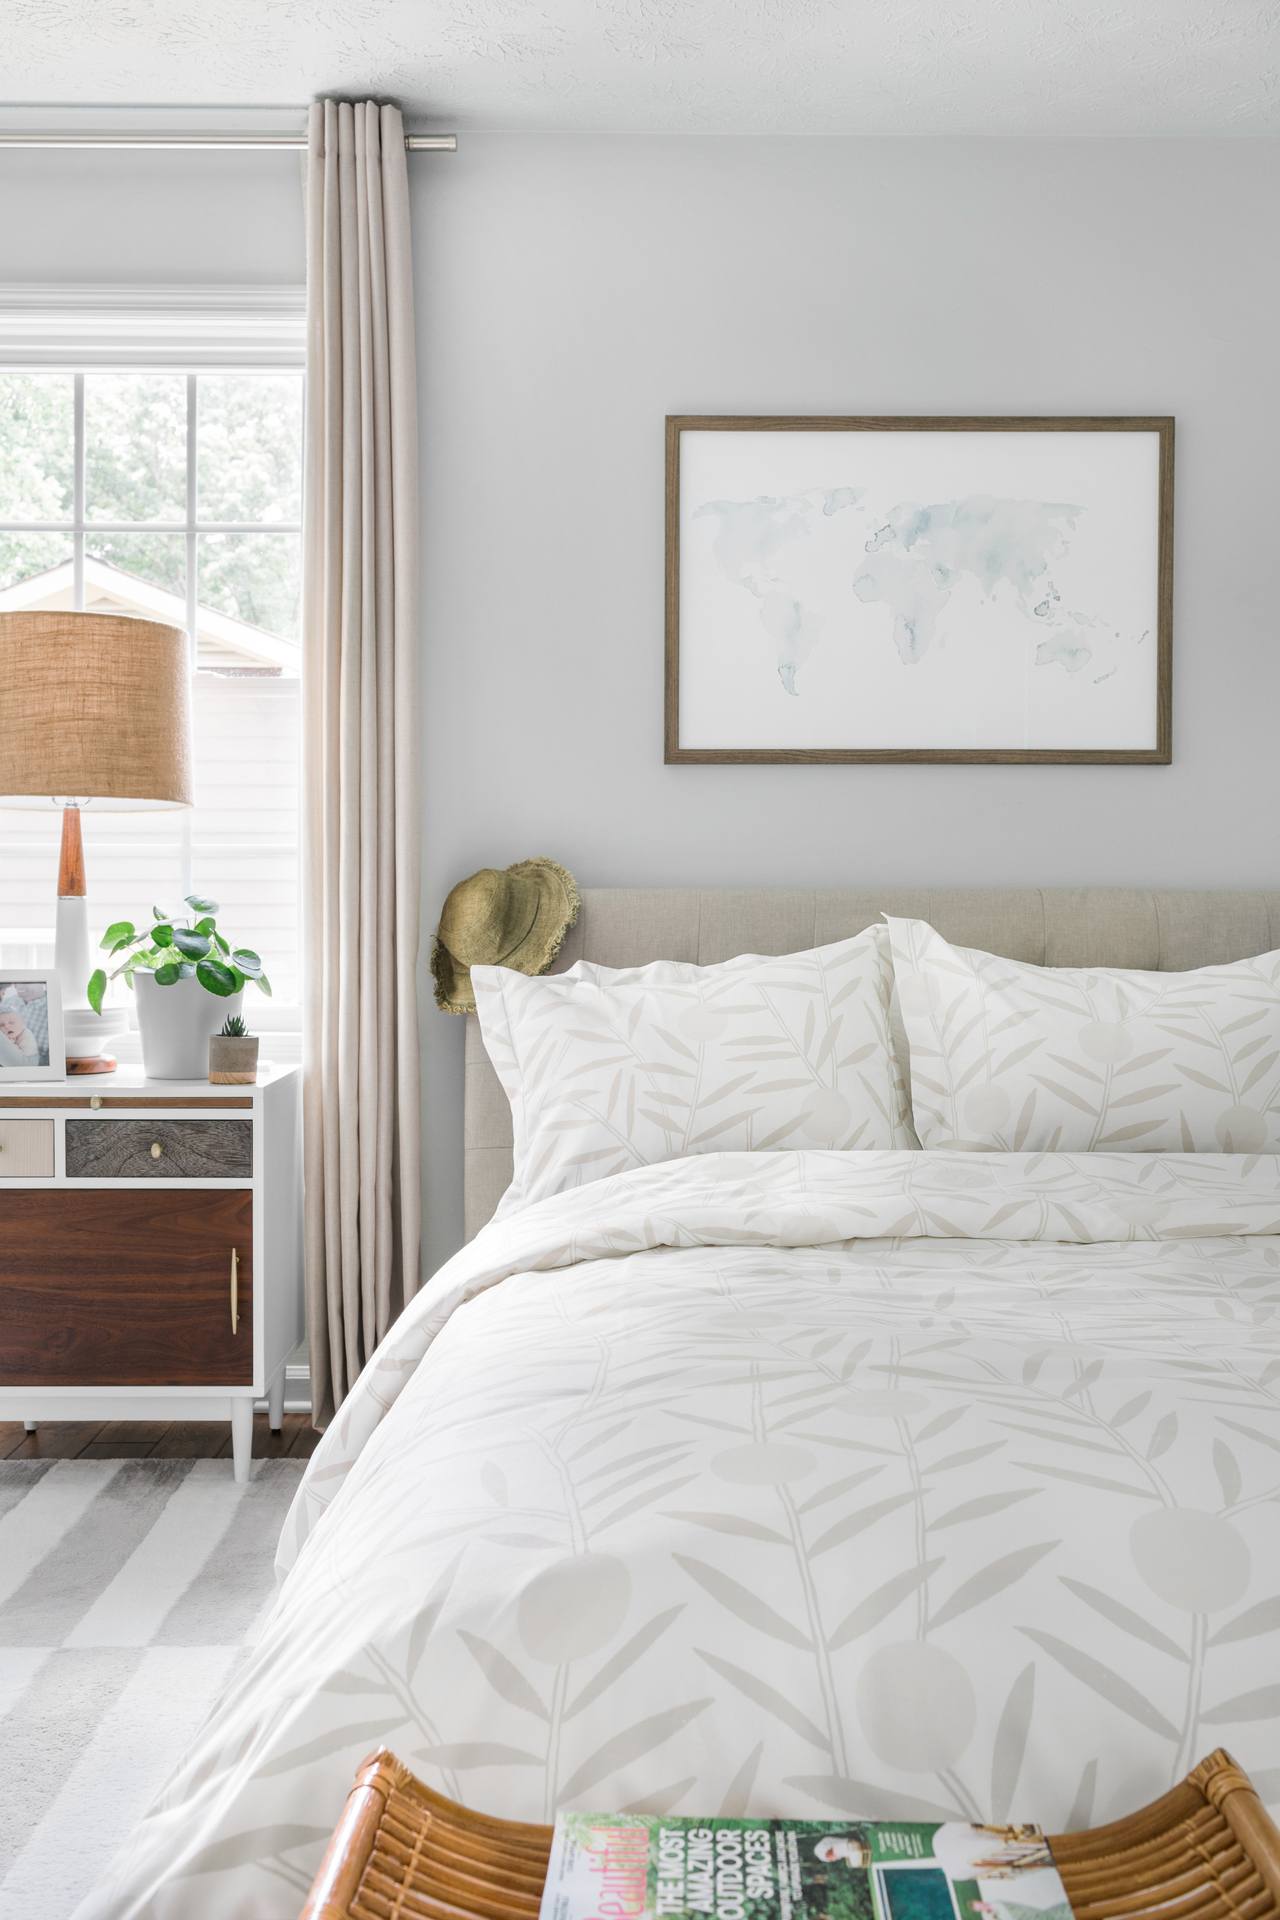
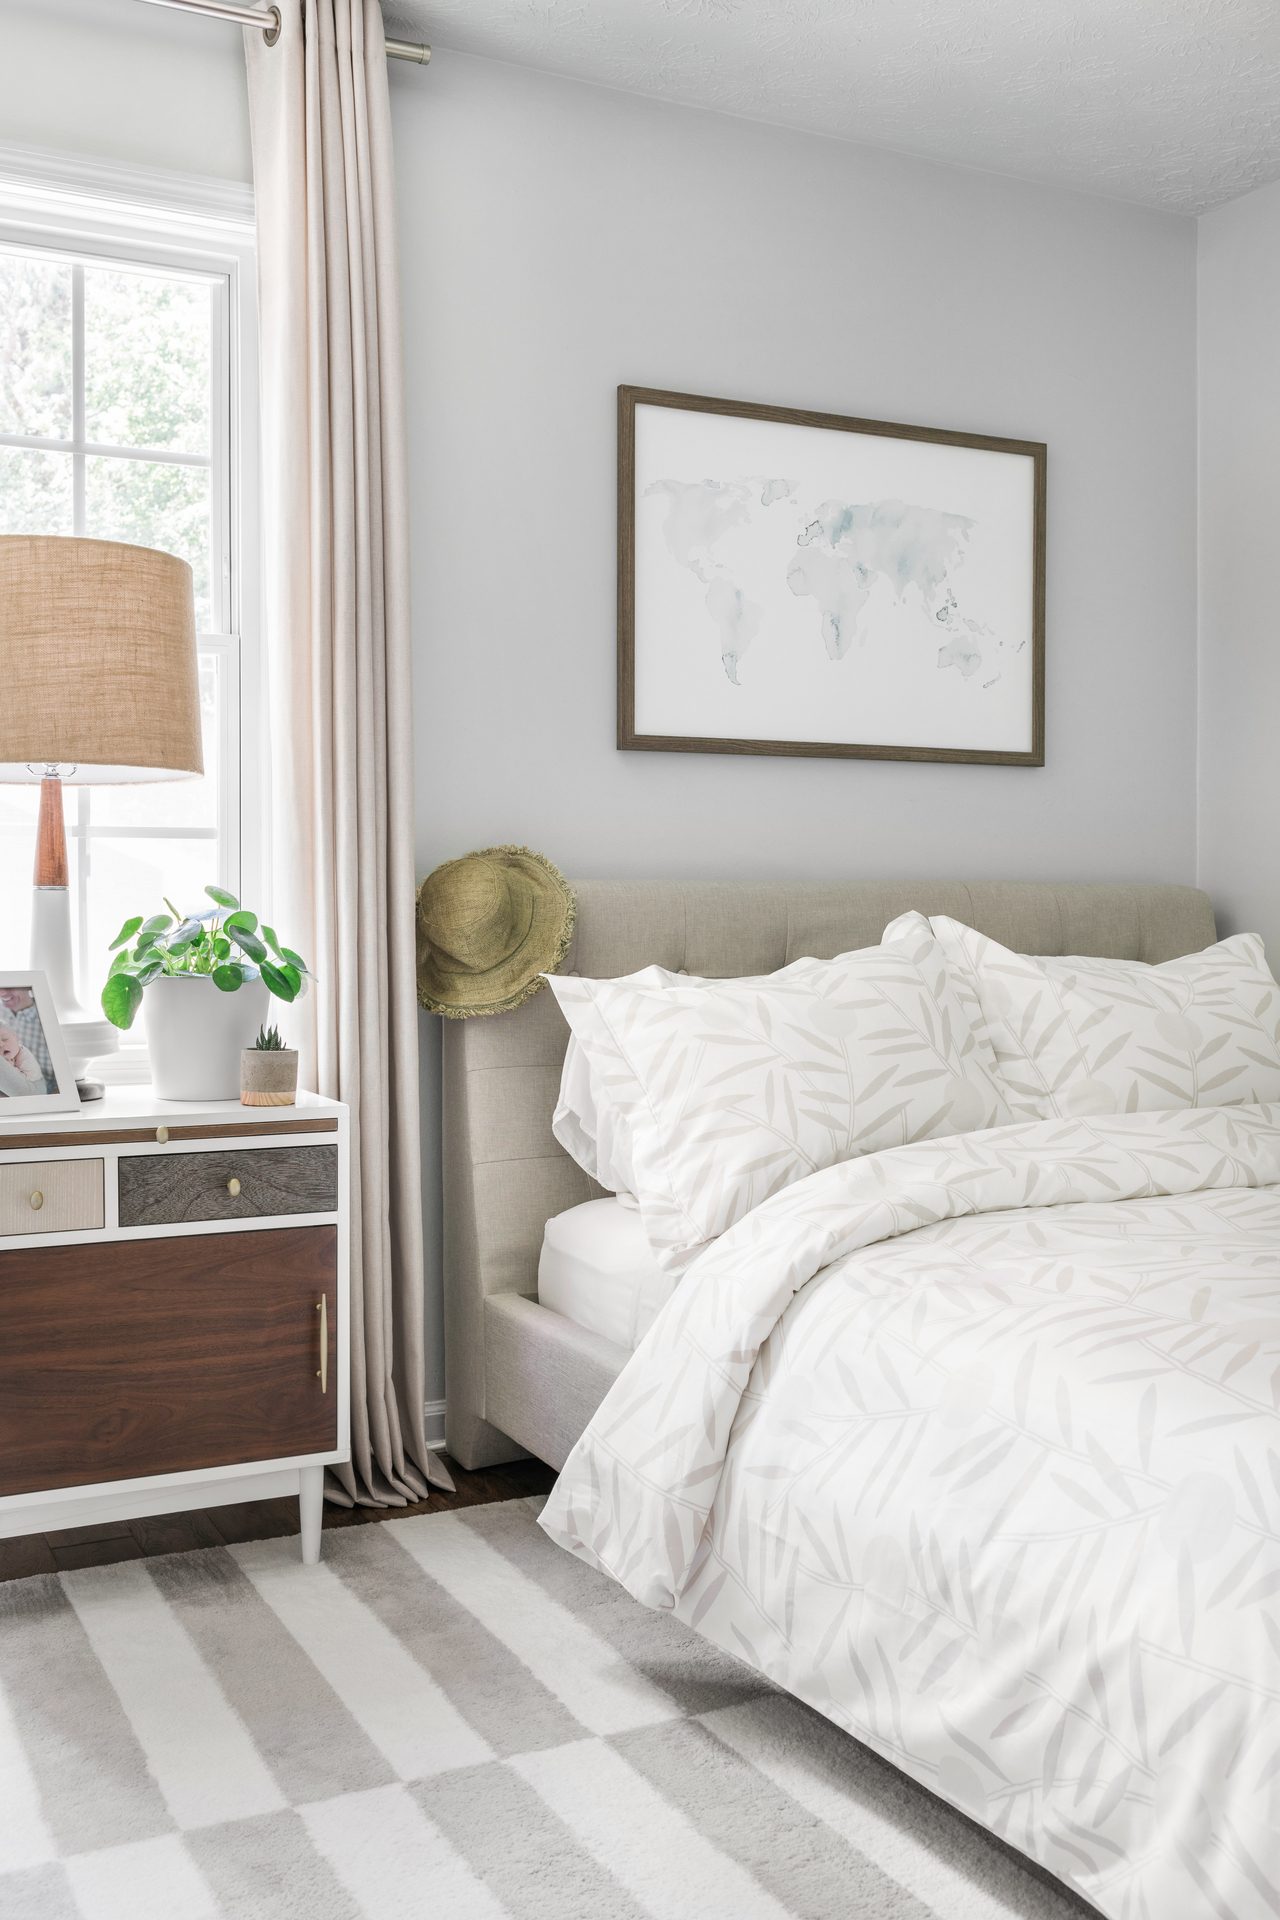
Bloom (Taupe) bedding in Robert's home
We could get lost for hours drooling over the beautiful homes and spaces we see online and on social media. These images inspire us to spend time, money, and energy improving our own homes, and when we do, we want to share our inspired spaces with the world. But if you're like us, what you see in real life doesn't always match what you see in the photographs you take.
That's why we reached out to Robert Peterson, the brilliant photographer behind Rustic White Interiors, which he runs with his wife, Tiffany. We enlisted his knowledge and know-how to learn how to perfectly capture our spaces so we can share our love for all things home in the most gorgeous way possible. Keep scrolling for Robert's top five tips for stunning interior photos.
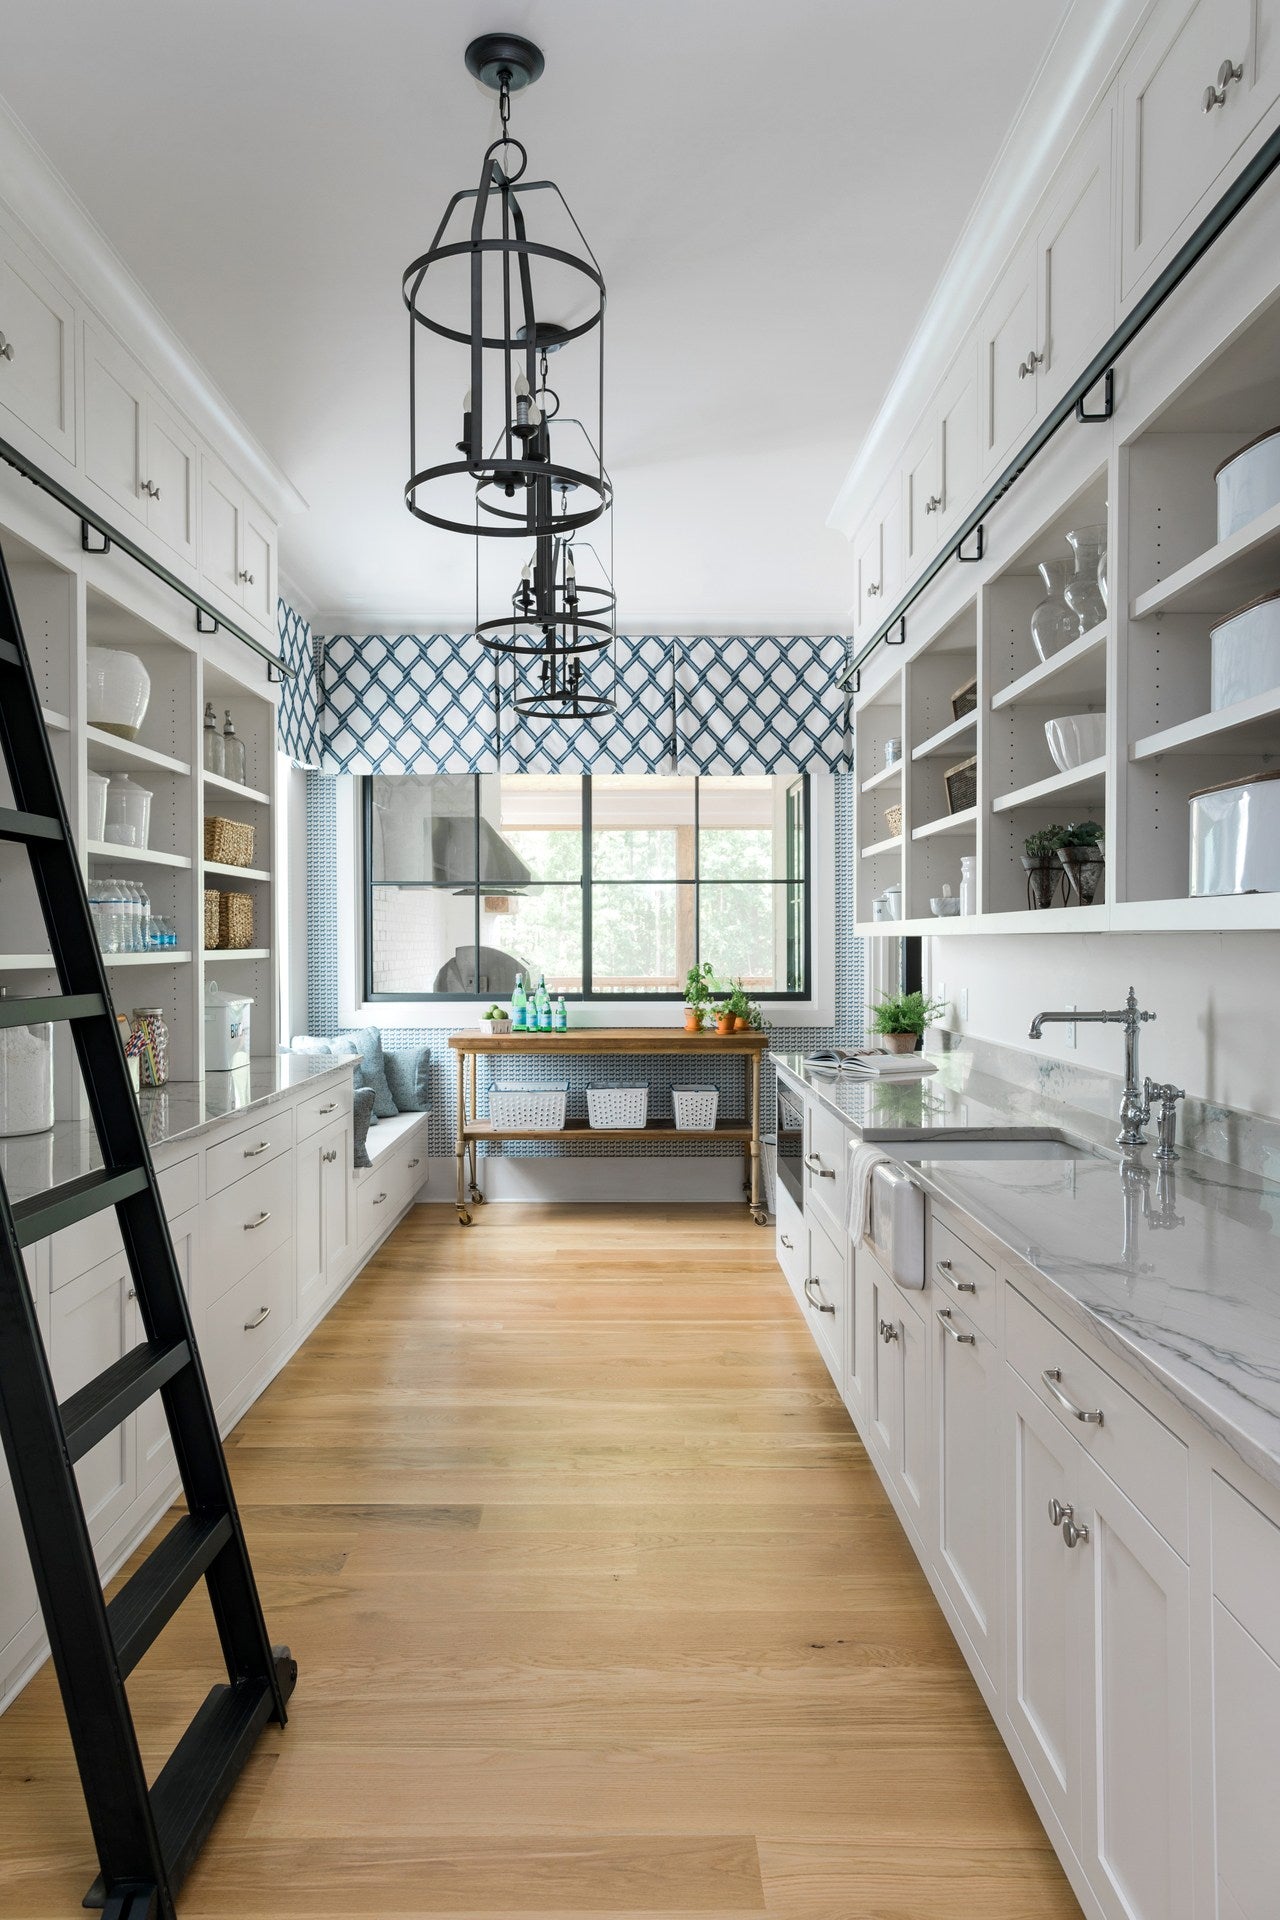
1. Let the Light In
When it comes to photographing a space, the first need is light. Even dark and moody spaces need light to keep shadows from blocking up and reading empty. The easiest way to get started is by tracking the sun and seeing what time of day produces the best light for your space. Pull back blinds and shades to allow extra light to fill the room. From here, you can use everyday objects to help soften and bounce additional light into a room. Both white bed sheets and towels make excellent reflectors to add light to a room, and silks help soften the light coming into your space.
One key point is to turn off all your interior lights. The additional warmth from interior lights will muddy the colors of your space and cause unflattering shadows and color casts. This is why it’s so important to maximize the natural light in each room you photograph.
KEY TAKEAWAYS
- Pull back blinds and shades
- Look for the right hour to shoot a room
- Use everyday objects as reflectors: white bed sheets, poster board, towels
- Turn off all interior lights
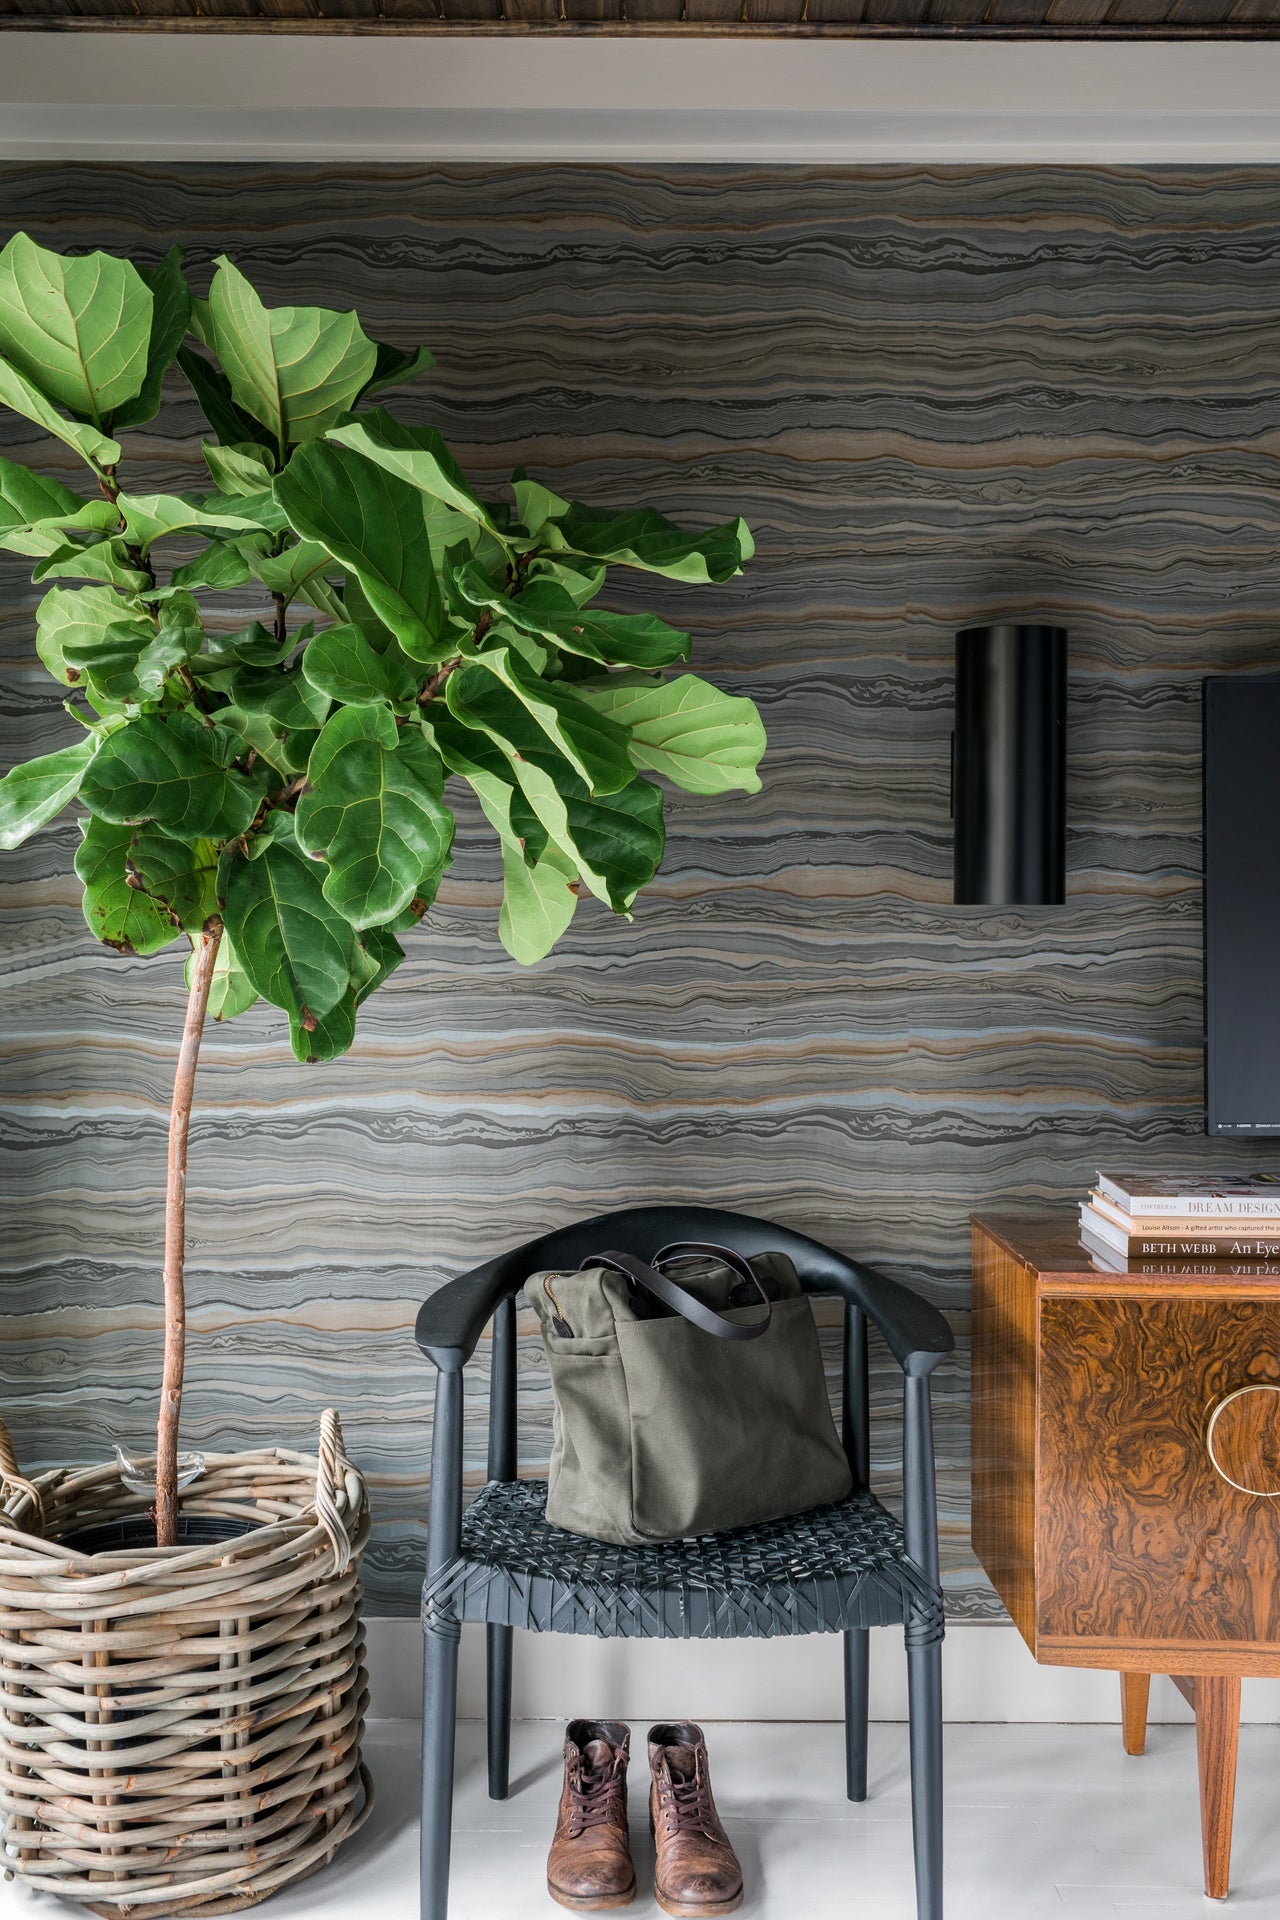
2. Get Stable
Whether you are shooting on a SLR, iPhone, tablet, or mirrorless camera, you will want a tripod. Not only will being on a tripod allow to you to frame your shot exactly where you need it, but it will also allow you to adjust your camera or phone settings to slow down the shutter so the camera to absorb more light without the image becoming blurry. This is a simple tip, but well worth the small investment.
KEY TAKEAWAY
- Use a tripod
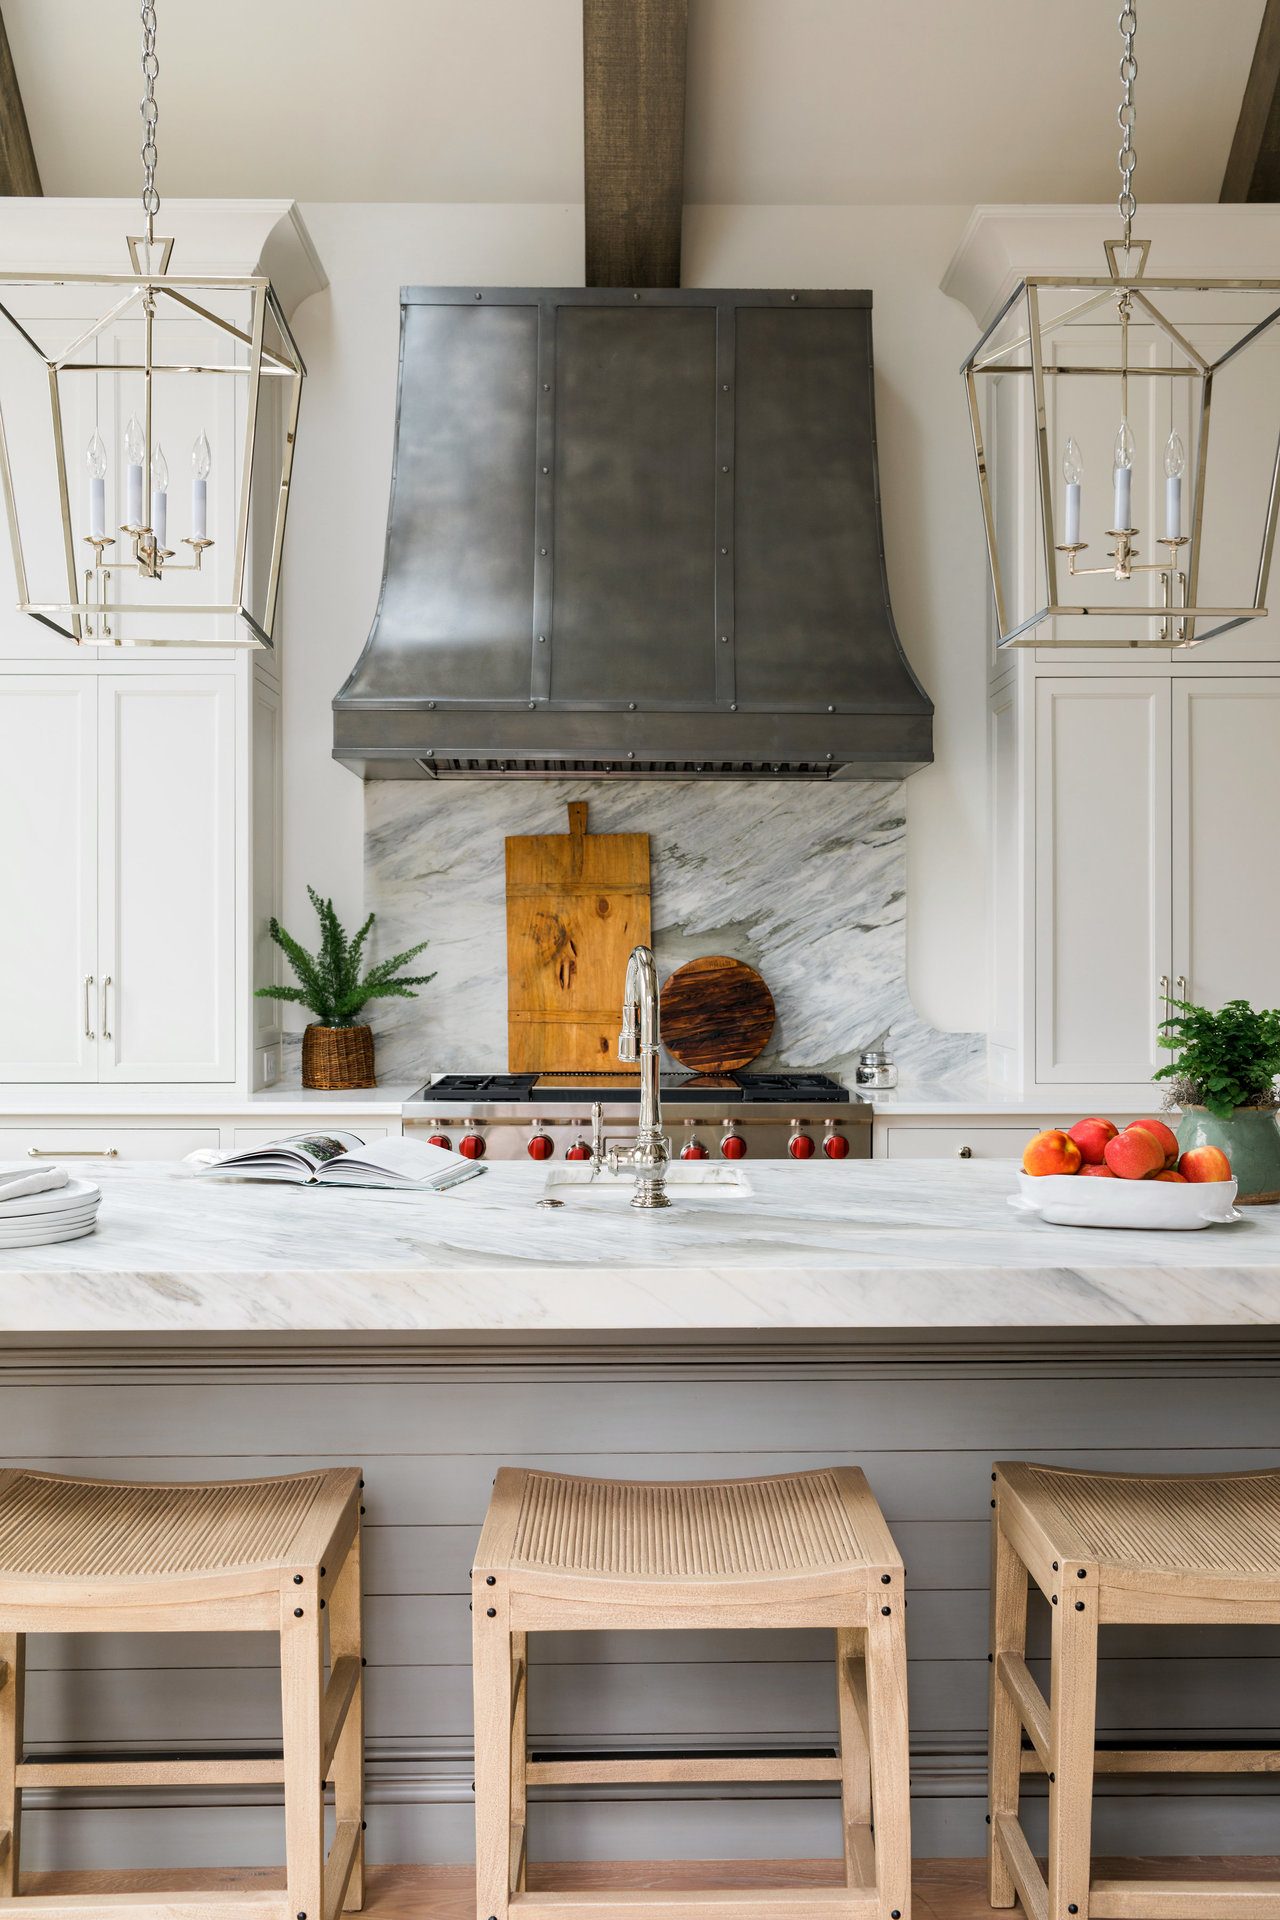
3. Get Low
Whether capturing a room as a whole or a small tabletop vignette, it helps to get lower and look at your object from a straight-on perspective. This will not only provide a more flattering angle to the elements in your story, but also will help make sure your wall lines are running vertically.
KEY TAKEAWAY
- Get a bit lower to keep walls looking vertical
4. Find the Story
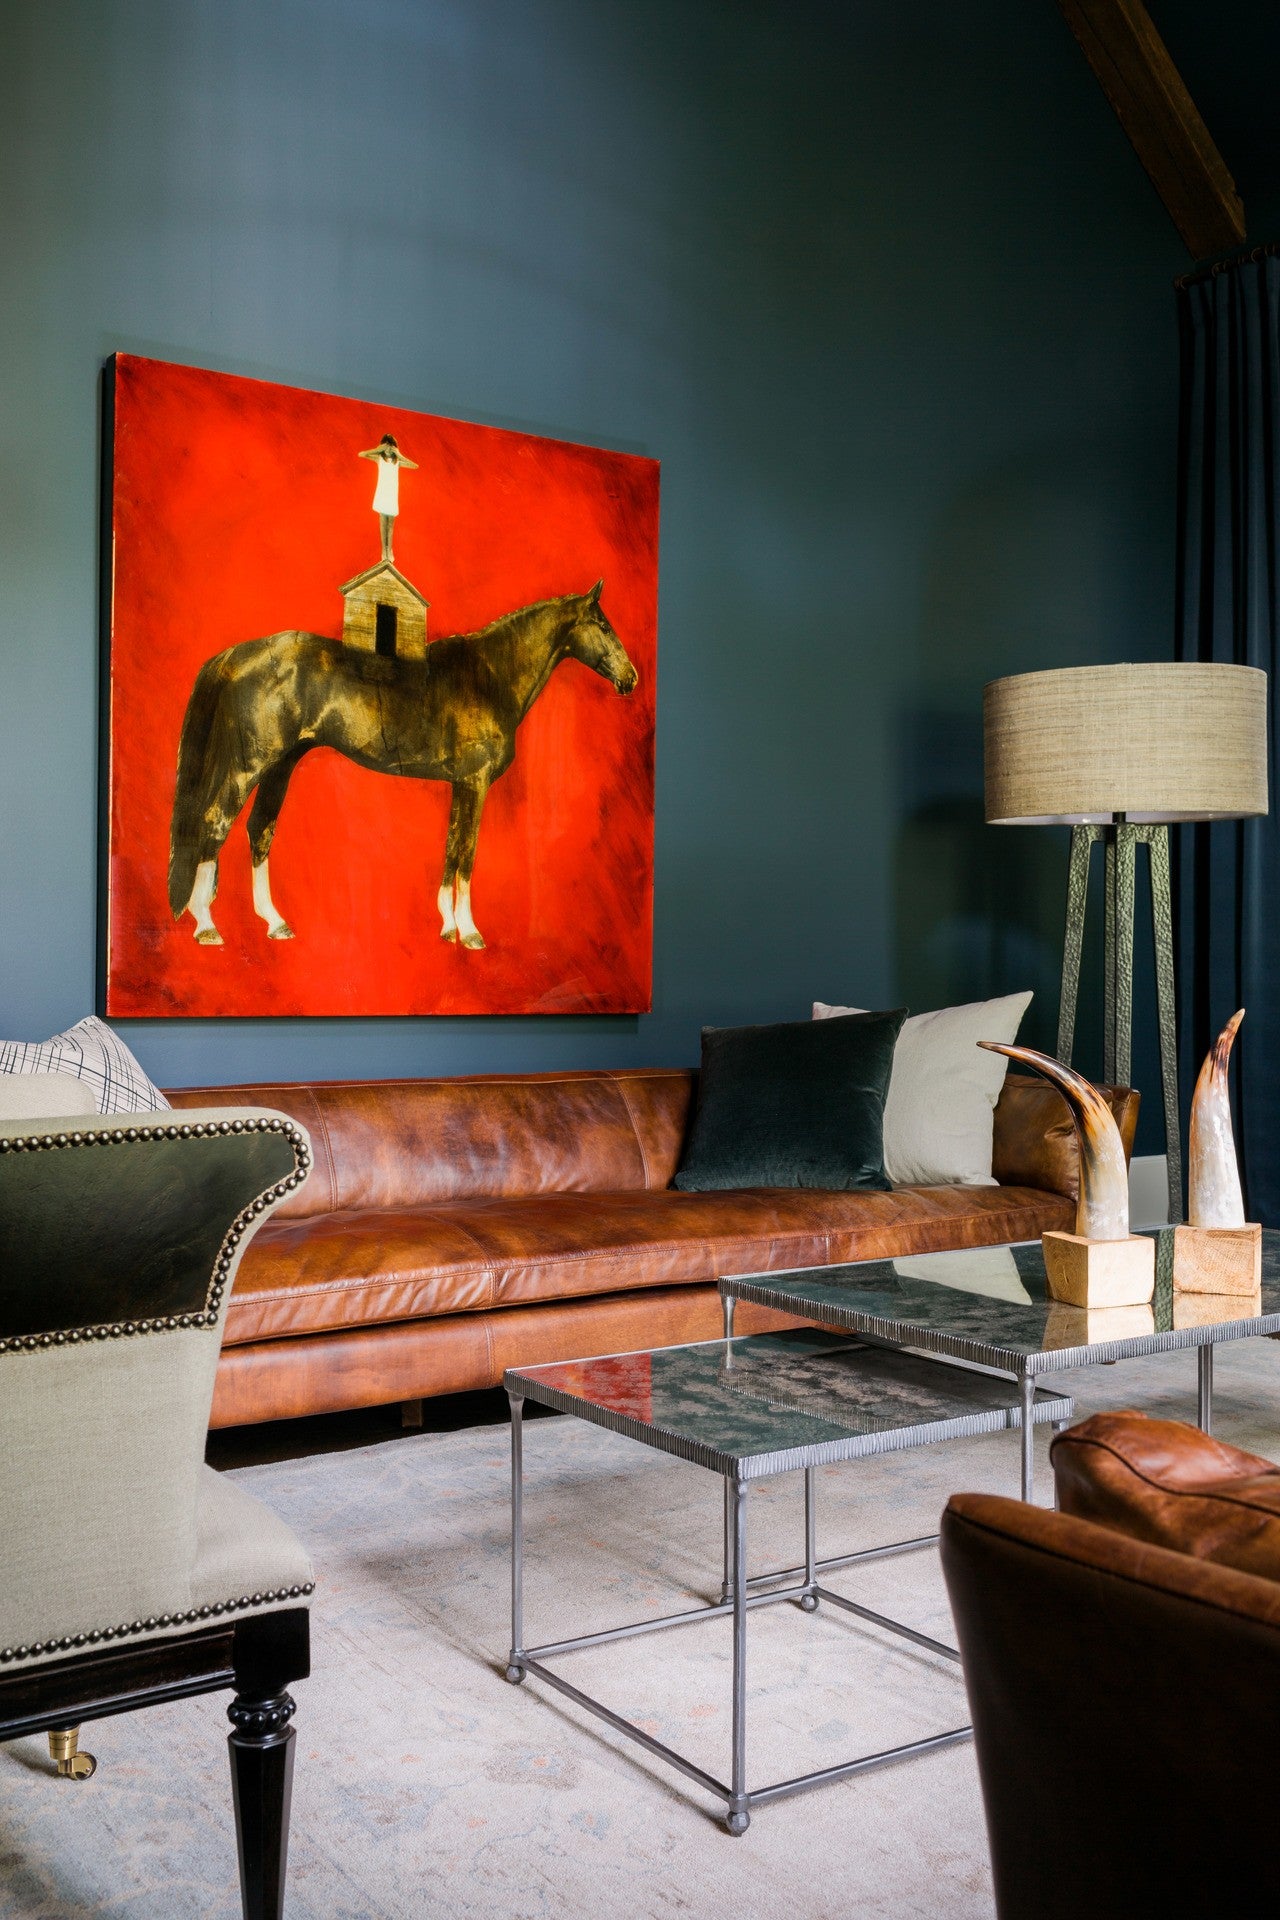
Rooms can be shot from many angles, but a few angles will really highlight a sense of story and wanderlust in a space. Take a few minutes to walk around the room and see what shots help create visual flow and take a viewer through the space. Try to ground objects by showing a little of the floor so the viewer can get a sense of placement and path around the room.
KEY TAKEAWAY
- Walk your space to find the right angle that truly captures the story you're trying to tell.
5. Style for the Camera
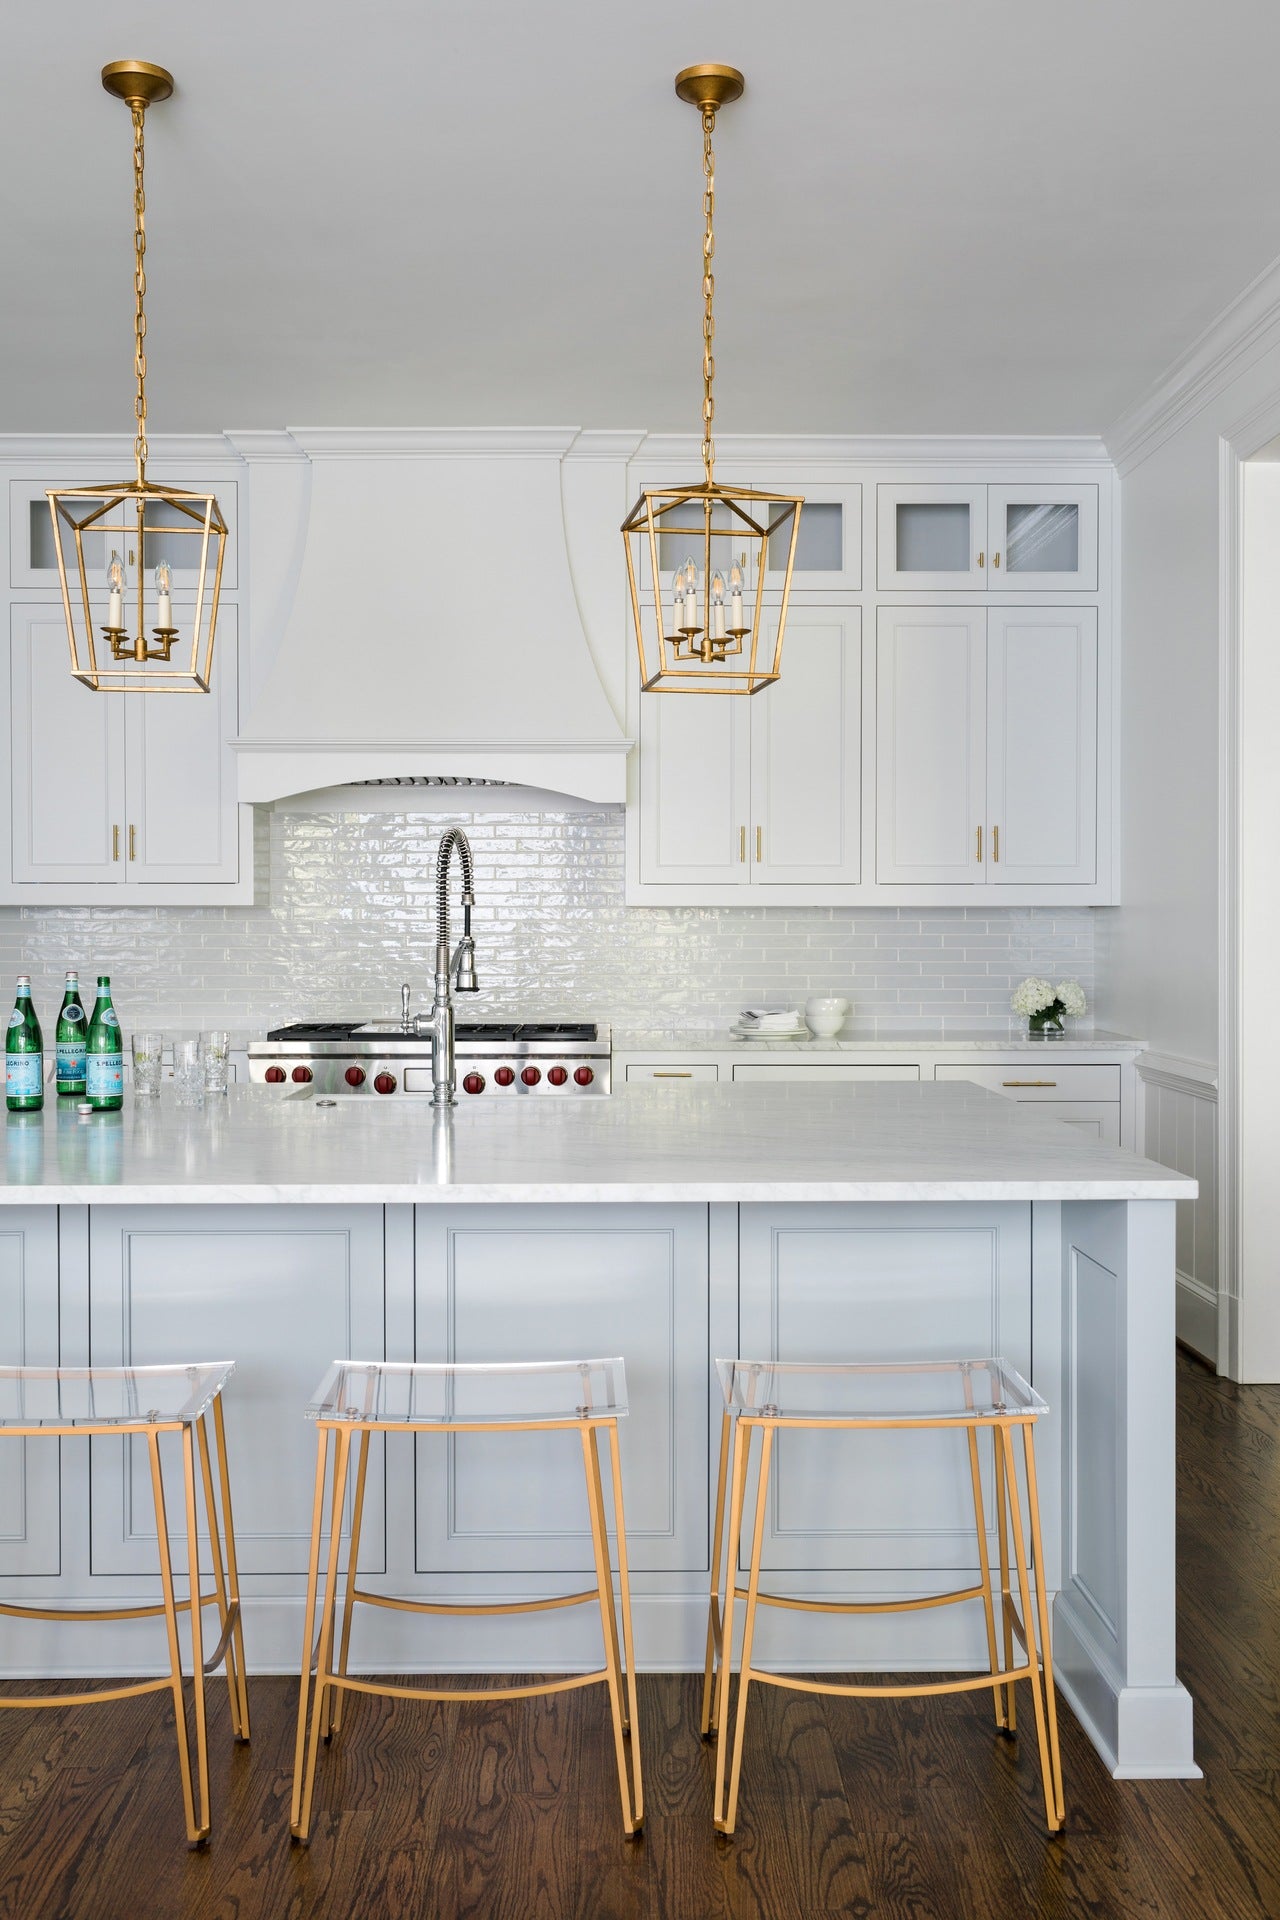
What looks great in real life and what looks great on camera are often vastly different. Once you are framed up and your camera is on a tripod, you will begin to see visual tangents and spaces that need balance and layers to create the intended story. This is one of the largest benefits of being on a tripod—the freedom to meticulously style a space until it is right.
KEY TAKEAWAY
- Use your camera viewfinder to style your space.
Inspired to try your hand at capturing your home with Robert's tips? We'd love to see your beautiful photographs featuring Hygge & West wallpapers, bedding, or shower curtains! Share your snaps on social media and tag us @hyggeandwest and we'll share some of our favorites in our Instagram feed and Stories!
All photography by Rustic White Interiors


